Fencing Mask Inspection: 7 Essential Safety Checks Before Every Season
A comprehensive fencing mask inspection is one of the most important safety practices to complete before the start of every fencing season. The fencing mask protects the most vulnerable areas—the face, head, and throat—and must perform reliably every time it is worn. Even high-quality masks experience gradual wear from impact, sweat exposure, transport, and storage, making regular inspection essential for continued protection.
A proper fencing mask inspection does more than identify obvious damage. It reveals early signs of structural fatigue, material breakdown, and fit instability that may not be immediately noticeable during casual use. Completing a consistent fencing mask inspection routine helps extend equipment lifespan, supports safety compliance, and reduces the risk of unexpected equipment failure mid-season.
This guide outlines seven essential fencing mask inspection checks that should be completed before every season, focusing exclusively on equipment condition, durability, inspection practices, maintenance awareness, storage impact, and long-term safety.
1. Inspect the Mesh for Dents, Deformation, and Structural Fatigue
The steel mesh is the foundation of any fencing mask inspection. It is designed to absorb blade impact and distribute force evenly across the mask structure. Over time, repeated contact, improper storage, or pressure from other equipment can compromise mesh integrity.
Begin your fencing mask inspection by holding the mask at eye level in bright, even lighting. Slowly rotate it and examine the mesh from the front, sides, and top. Look closely for:
Flattened or inward-bowed sections
Uneven or widened gaps between wires
Subtle warping or rippling patterns
Areas that appear thinner or weaker than surrounding mesh
Gently press on several areas of the mesh using consistent pressure. A structurally sound mask should feel firm and rebound immediately. Mesh that flexes excessively or fails to return to shape may indicate metal fatigue.
Our fencing masks are manufactured to maintain rigidity and consistency, but even premium masks require routine fencing mask inspection to remain protective over time.
2. Examine the Bib for Cuts, Separation, and Material Breakdown
A thorough fencing mask inspection must always include the bib. The bib protects the throat and upper chest and experiences constant exposure to sweat, bending, and friction during use and transport.
Inspect both sides of the bib carefully, checking for:
Cuts, punctures, or abrasion marks
Fraying or thinning along the edges
Stiff or brittle fabric caused by moisture buildup
Separation between layers of the bib
Gaps where the bib connects to the mask frame
Pay particular attention to the seam where the bib meets the mesh. Any loosening or detachment compromises protection and is a clear indicator that replacement may be necessary. Moisture retention accelerates material fatigue, which is why bib condition is a recurring focus of fencing mask inspection.
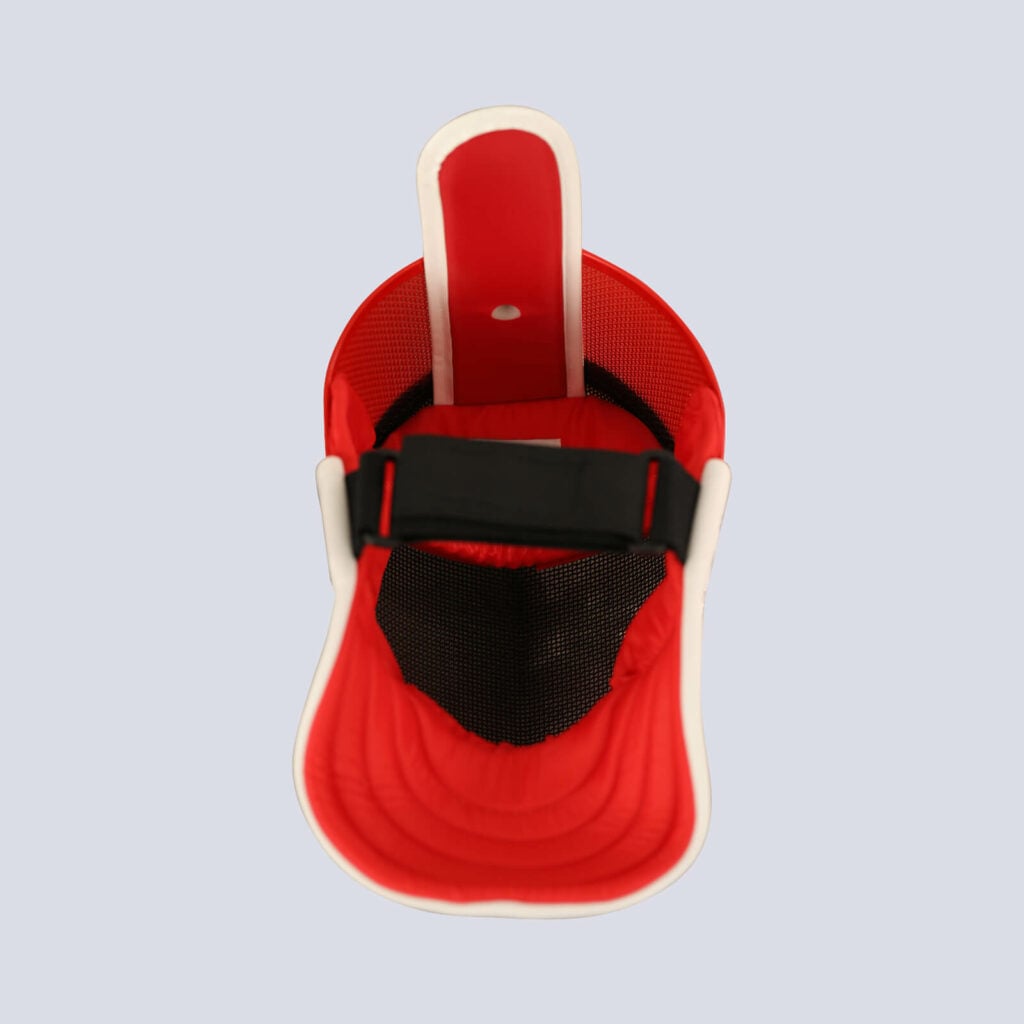
Interior padding is a critical component evaluated during fencing mask inspection. Padding absorbs impact energy and helps maintain stable, even contact between the mask and the head. Over time, foam and liner materials compress, shift, or degrade.
Remove or expose the interior liner and inspect for:
Flattened or permanently compressed padding
Uneven thickness or displaced foam sections
Torn or peeling liner fabric
Loose attachment points
Persistent odor indicating trapped moisture
Press gently on multiple areas of the padding and release. Healthy padding should rebound quickly and evenly. Padding that remains compressed or feels hardened no longer provides optimal impact absorption and can alter overall fit.
If padding wear is identified, reference our fencing mask maintenance guide for guidance on care practices and replacement considerations that support equipment longevity.
4. Test the Back Strap, Elastic, and Retention System
A fencing mask inspection is incomplete without confirming that the retention system functions properly. The back strap and elastic components ensure the mask remains securely positioned and does not shift under pressure.
During inspection, evaluate:
Elastic strength and rebound
Cracking, thinning, or fraying straps
Adjustment hardware for slippage or wear
Consistent tension across the back of the mask
Put the mask on and apply gentle forward and downward pressure. The mask should remain stable without sliding or rotating. Any noticeable movement suggests that the retention system no longer provides reliable support.
Our retention systems used in our masks are designed for durability, but elastic materials naturally lose strength over time, making this step a vital part of every fencing mask inspection.
5. Confirm Fit Stability and Coverage Integrity
Fit plays a central role in fencing mask inspection. Even a mask that once fit perfectly can change over time due to padding compression or strap fatigue.
During inspection, confirm that:
The mask sits evenly around the head without pressure points
The face and jawline remain fully covered
The bib lies flat against the upper chest
No gaps appear when the mask is worn
Fit instability reduces protective coverage and may expose vulnerable areas. These issues often emerge gradually and are best identified during routine fencing mask inspection rather than during use.
For a complete safety review, compare mask fit with surrounding protective gear using our fencing uniform inspection guide to ensure proper alignment between the mask, jacket collar, and plastron.
6. Inspect Stitching, Rivets, and Structural Attachments
Small structural components often show early signs of wear before major failures occur. A professional fencing mask inspection includes careful review of all stitching and fasteners.
Closely examine:
Bib stitching along seams and edges
Reinforced stress points
Rivets securing the bib to the frame
Any welded or reinforced joints
Loose stitching, stretched thread, or weakened rivets can worsen quickly. Identifying these issues early through fencing mask inspection helps prevent sudden equipment failure and supports long-term durability.
7. Identify Storage-Related Damage and Environmental Wear
Storage conditions significantly affect mask lifespan, making environmental assessment a critical part of fencing mask inspection. Poor airflow, moisture, and pressure accelerate degradation even when the mask is not in use.
Inspect for:
Rust spots on mesh or metal components
Discoloration from moisture exposure
Brittle or stiff bib material
Lingering mildew or odor
Masks should be stored in a dry, breathable environment with no weight pressing against the mesh. Reviewing storage-related wear during fencing mask inspection helps identify issues caused outside of use.
Integrating fencing mask inspection into a broader equipment review reinforces a comprehensive, safety-focused approach to fencing gear management.
When Inspection Indicates Replacement
If fencing mask inspection reveals mesh deformation, bib separation, compromised padding, or unstable retention, replacement is the safest course of action. Prieur USA fencing mask product pages offer professionally manufactured masks designed for durability, comfort, and long-term reliability.
When replacing a mask, ensure compatibility with existing protective equipment and follow our fencing mask maintenance content to preserve condition and performance moving forward.
Final Thoughts on Fencing Mask Inspection
A consistent fencing mask inspection routine is essential for safety, durability, and equipment longevity. These seven essential checks provide a structured, repeatable process for identifying wear before it becomes hazardous.
By prioritizing fencing mask inspection, proper storage, and informed replacement decisions, you protect both your equipment investment and long-term safety—season after season.